I always want to have a virtualization lab in my home. But I don't want my server to fully commit to that idea. Even though Proxmox seems like a decent OS for the job, I still pick Debian for more customization. It's more general-purpose compared to dedicated OS. There's only one package that can help me realize the dream, Cockpit.
Cockpit is a web interface for managing a server. It comes with many plugins that can be installed separately. I planned to use this for managing virtual machines, because this is the only application with a UI to do so.
Installing
Quite easy if you're on Debian or Ubuntu. Just type
sudo apt install cockpit cockpit-machinesIt will automatically install Cockpit along with VM plugin and other dependencies.
Quick look
Access the Cockpit UI through address https://your.ip:9090/. Your username and password is your current account.
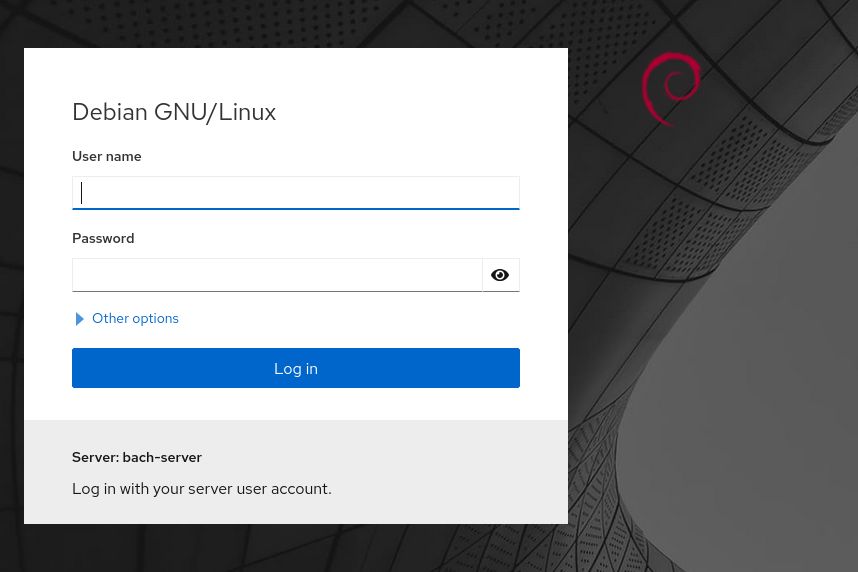
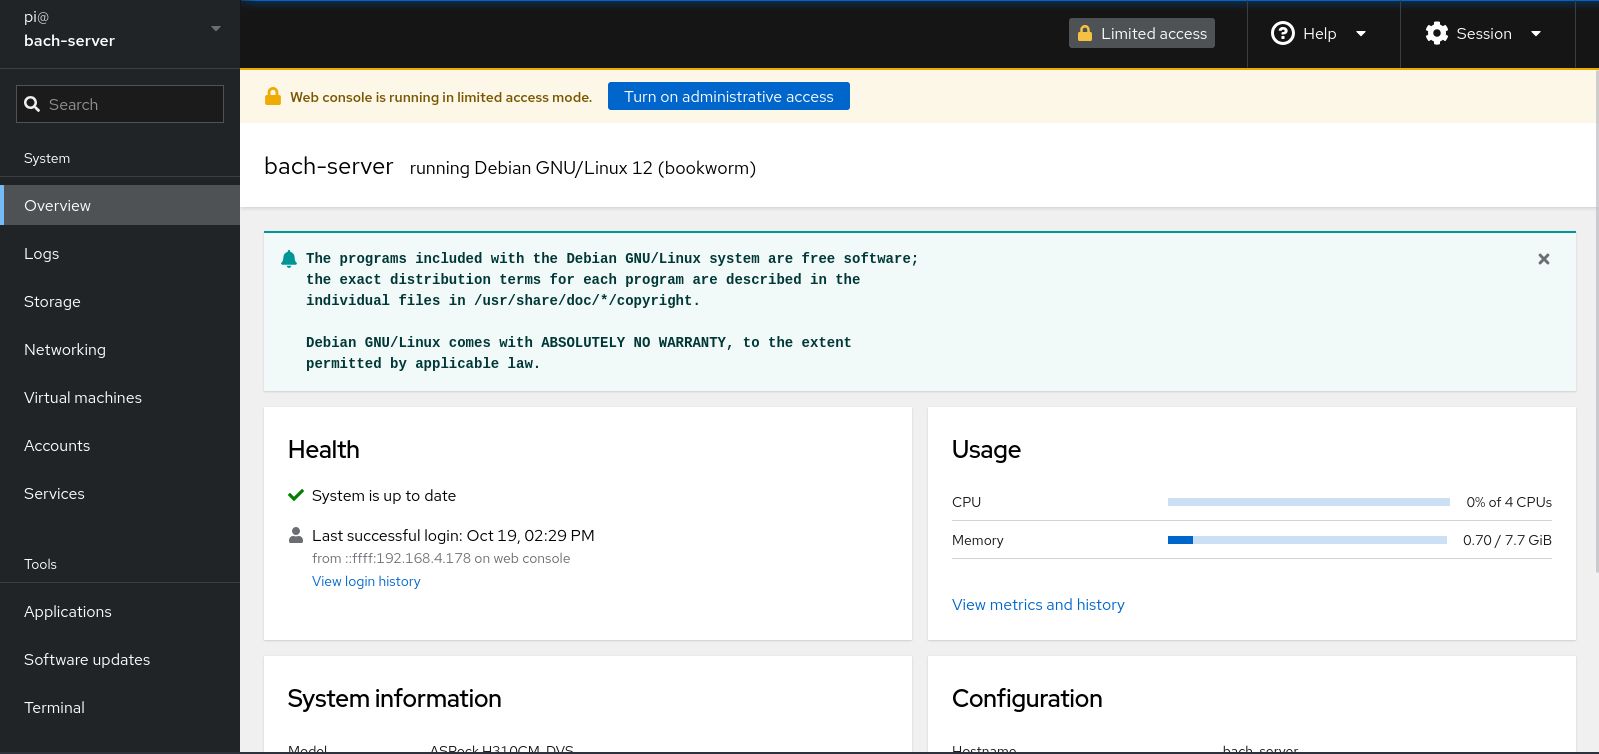
When you first log in, the account will be assigned Limited access, meaning it does not have sudo access. You need to escalate to Administrative access if you want more functionalities.
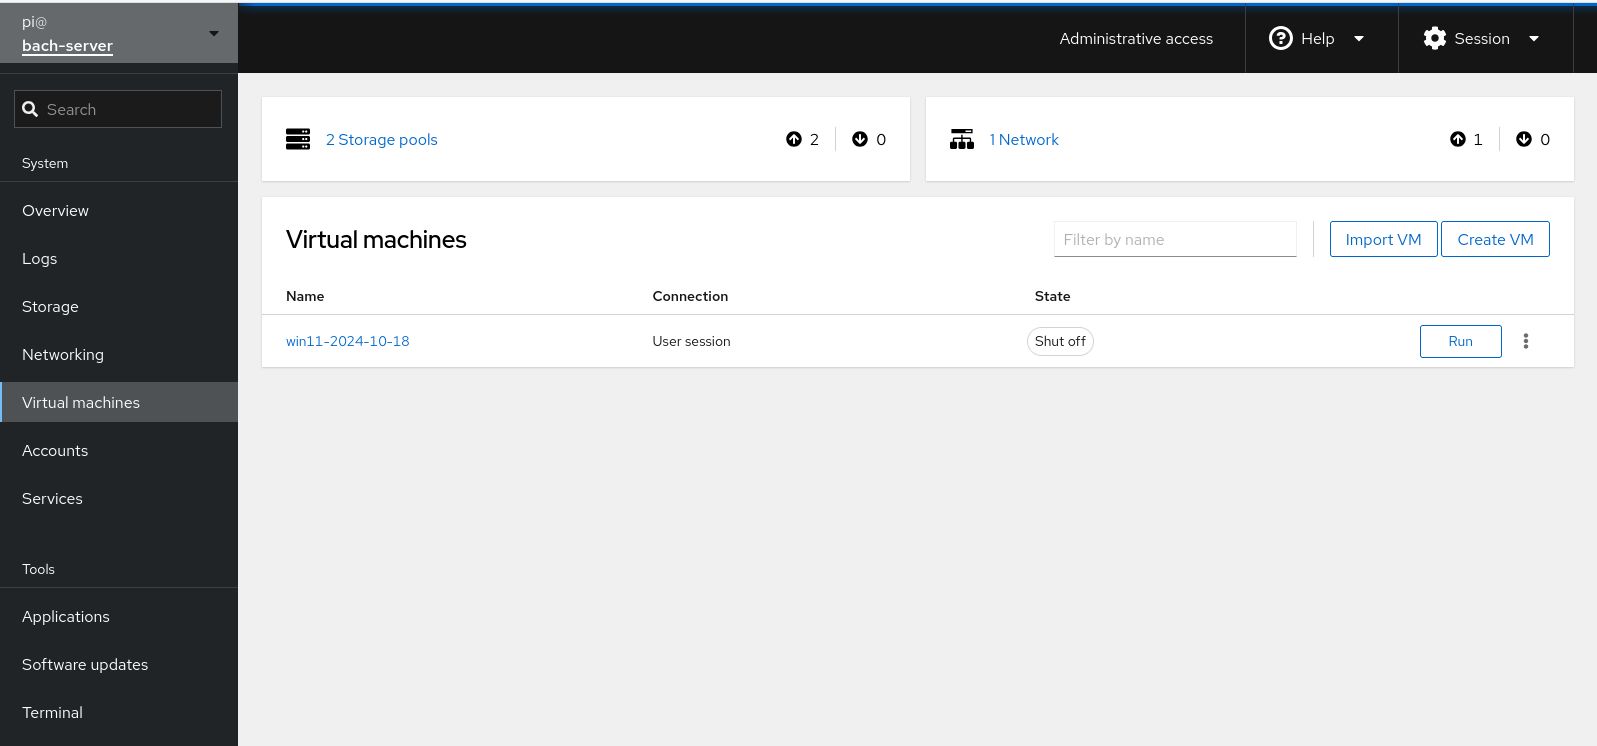
Creating virtual machines
Now, this is the hard part. I tried getting it work in the past and didn't end well. With a new server, I intended to
do it again. Maybe this time it would work.
Anyway, this is not a comprehensive guide, I got it working but I will try to retrace my steps and record them for
future references.
These parts are referenced from this article.
First, run this command to make sure VT-x (Intel) or AMD-V (AMD) is enabled in BIOS.
kvm-okIf it says INFO: /dev/kvm exists then you can proceed.
Second, add your own user into group kvm and libvirt.
sudo adduser `id -un` kvm
sudo adduser `id -un` libvirt
Next, I need to set up a storage pool. In Cockpit, a storage pool makes sense for hard drives, not really for disk images, because they would ask you to show them the location of the ISO file, regardless of it belonging in the pool.

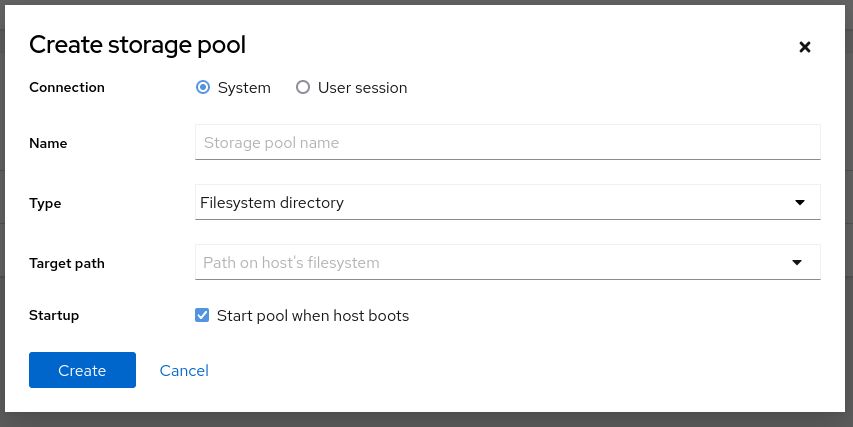
When it asks you what type of connection, there are two types. These also show up when creating a virtual machine (VM). The two types are system and user session:
System
- Ideal for server VMs
- VM will launch with root permissions
- Ideal networking support
- Permissions denied for disk images in home directories
User session
- Good choice for desktop virtualization
- VM launched with unprivileged limited access, with the process and PTY owned by your user account
- Restrictions in networking (SLIRP-based emulation) and PCI device assignment
- Disk images can be stored in user home directory
When first starting, I created like one type of pool, and another type of VM. So mix and match, which ended up with the VM reporting error about permissions on the drive or images. Even if they both the same type (User session), I still received some errors about permissions as well. So I consulted this GitHub issue and some solutions worked:
- Change /etc/libvirt/qemu.conf to make things work. Uncomment user/group to work as root.
- Copy your ISO images and hard disks to /var/lib/libvirt/images. It only works for system VMs.
- Change permission and owner:group of folder you store disks in using chmod and chown, respectively.
I also adjust Spice and VNC listen address to be 0.0.0.0 by default in /etc/libvirt/qemu.conf, so I can connect to the VM remotely.
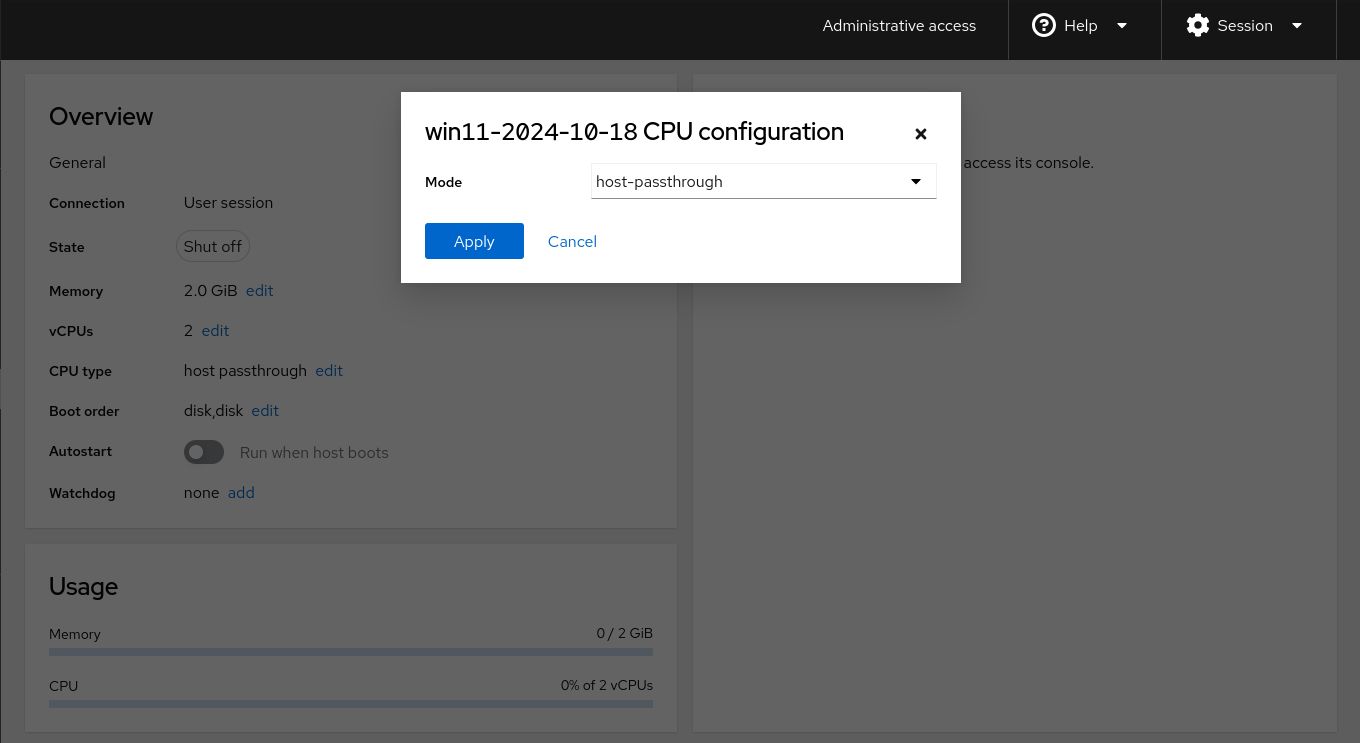
One last thing. Make sure the CPU type is host-passthrough for the best performance. According to
an OpenStack post, there is a difference between
host-model and host-passthrough.